
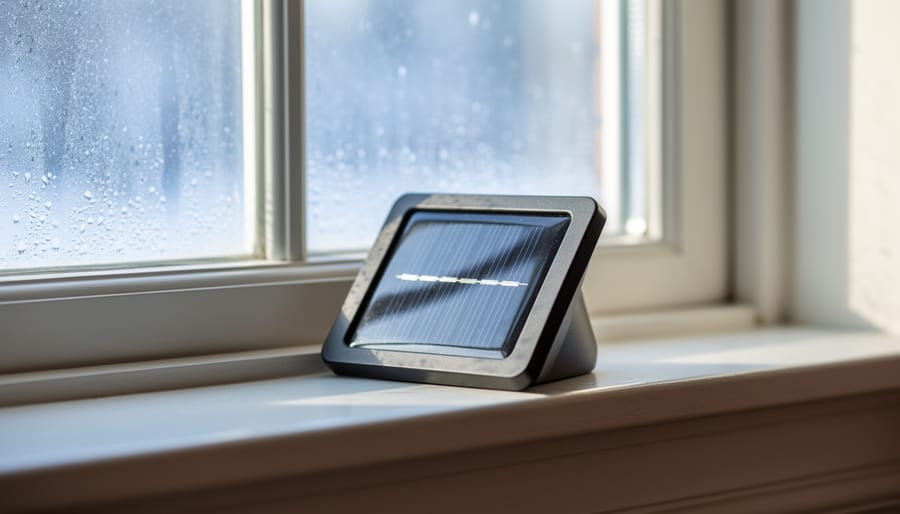
Yes, solar lights will charge indoors, but only weakly. Set one on a bright windowsill and it may collect enough energy for a short evening glow. Leave it in a dim hallway under ordinary room lighting and you’ll get little more than disappointment by dusk. The method is simple, the effort is about five minutes, and the main prerequisite is a window that gets real daylight.
The reason comes down to how the panel works. A solar cell turns light into electricity, and the amount it produces depends on how intense that light is. Direct outdoor sun delivers many times the intensity of a typical living room. Glass filters some of that sun further, which is why even a south-facing window charges a light far more slowly than a spot in your garden. Indoor bulbs, especially warm LEDs, give off light that most small panels barely register.
That limit is worth understanding, because it points to something hopeful. Across Canada, designers, engineers, and community-led projects are rethinking how daylight and solar energy can brighten homes, from off-grid cabins to remote northern communities where energy independence is a practical goal, not a slogan. Indoor charging is a small, useful trick within that larger story.
Here’s what you’ll need, how to do it safely, and how to tell whether your lights are actually charging.
Why Indoor Charging Works Differently: The Science Behind Solar-Powered Indoor Lighting
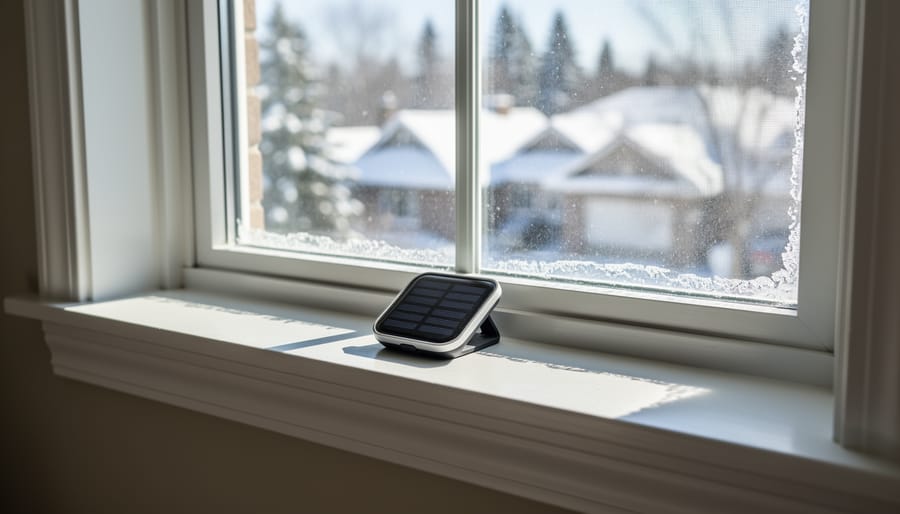
A solar light works because of its photovoltaic cell, the dark panel on top. When light hits it, the energy knocks electrons loose inside the silicon, and that flow of electrons is a small electric current. The current tops up the battery, and the battery powers the LED at night. The catch is simple: more light means more current, and less light means less.
Indoors, that’s where things get tricky. Light intensity is measured in lux, which is just a way of counting how much light lands on a surface. Direct outdoor sun can reach 100,000 lux. A bright south-facing window on a clear day might give you a few thousand. A typical LED bulb a metre away delivers only a few hundred, and ordinary room lighting sits around 100 to 500 lux. Your panel is being asked to work with a tiny fraction of what it was built for.
Window glass makes it worse. Glass already filters part of the usable spectrum, and modern Canadian windows are designed to keep heat in. Double and triple-pane units with low-e coatings (a thin, nearly invisible metallic layer) are great for winter heating bills, but low-e glazing reduces solar gains by reflecting some of the very light a solar panel wants. Every extra pane and coating trims the energy a little more.
There’s also a design mismatch. Standard garden-light panels are tuned for strong, direct sun. They’re cheap and tough, but they struggle when light is dim. That’s why engineers have developed indoor-optimized cells, built to harvest energy from low, diffuse, artificial light. You’ll find them in things like calculators and sensors, and researchers are working to bring that efficiency to a wider range of products. It’s an encouraging corner of clean-tech innovation, and it explains why a garden light on a windowsill can only ever be a modest, partial charger.
What You’ll Need Before You Start: Tools and Materials for Indoor Solar Charging
Before you start, gather a few simple items. Most of them are already in your home, and none are expensive. A little preparation also saves you from wasting days of weak charging on a light that was never going to hold a charge.
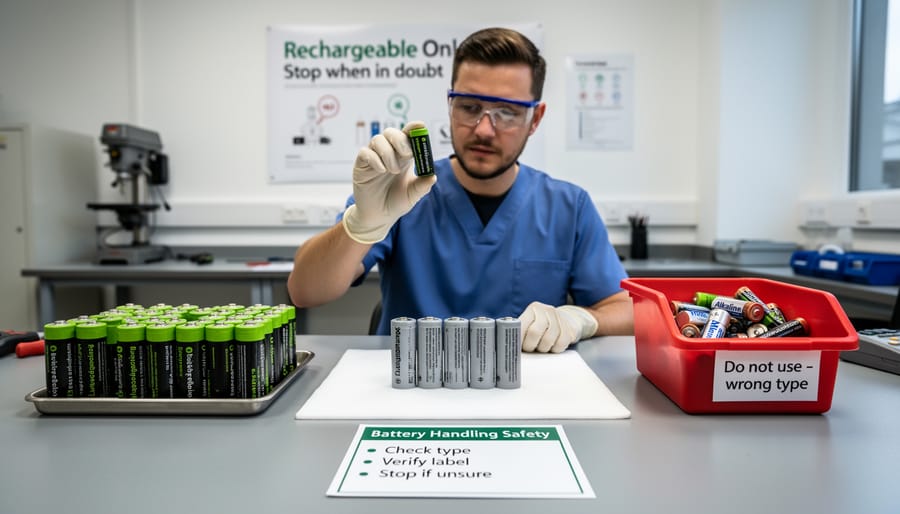
Start with the solar light itself. Open the battery compartment and look at the label on the cell. A rechargeable NiMH battery will say “Ni-MH,” while a lithium cell will say “Li-ion” or “LiFePO4.” Standard alkaline batteries are not rechargeable and don’t belong in a solar light. Then look over the panel for scratches, cloudiness, or a film of dust, since a damaged panel won’t gather much light.
Here is your checklist:
- A south- or west-facing window: it gets the longest stretch of strong light through the day.
- A soft, clean cloth: wiping the panel removes dust and grime that block light.
- A full-spectrum LED or daylight-balanced bulb (optional): it gives the panel a far better light source than a standard room lamp.
- A lamp fixture (optional): it holds the bulb steady at a safe, consistent distance.
- A plug-in timer (optional): it keeps sessions controlled so you aren’t leaving a lamp on unattended.
- Aluminum foil or a white board (optional): a reflective surface bounces extra light back onto the panel.
Keep the list short and practical. With these in hand, you’re ready to move on.
Safety Warnings and When to Stop
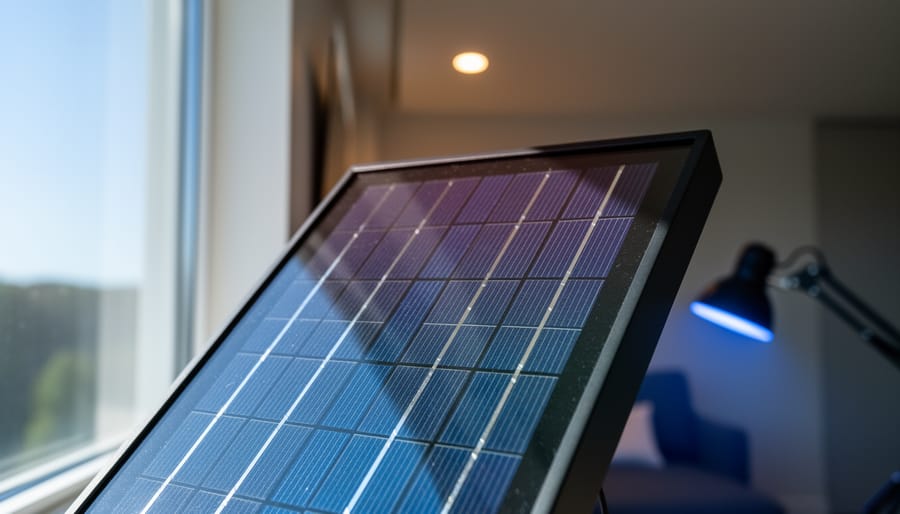
Charging a solar light indoors is low-risk, but a few habits keep it that way. The main hazard comes from the lamps people use to speed things up, so start there.
Never use a heat lamp, and never park a panel against a hot bulb. Plastic housings soften and warp at surprisingly low temperatures, and heat is what shortens a rechargeable battery’s life fastest. Keep a daylight-balanced LED at a safe distance, and don’t leave any high-wattage lamp running unattended. Use a timer and stay in the house.
Check the battery before you charge anything. A damaged or swollen cell should never go near a charger or a lamp. Also confirm the light holds a rechargeable battery, usually labelled NiMH or lithium. A standard alkaline battery isn’t designed to be recharged, and forcing it can cause leaking. Keep the whole setup away from curtains, paper, and other flammable materials.
Once a battery fails, don’t toss it in the garbage. Batteries contain metals that shouldn’t end up in landfill, and across Canada most municipalities and provinces run drop-off programs. Call2Recycle is a common option, with collection points at many hardware and electronics retailers. Check your local waste authority’s website for the nearest location, and place tape over the terminals of lithium cells before dropping them off.
How to Charge Solar Lights Indoors, Step by Step
Using a Sunny Window
Start by switching the light off, if it has a switch. That lets all the captured energy go into the battery instead of powering the bulb. Then wipe the panel with a soft, damp cloth, since a film of dust or garden grime can cut what reaches the cell.
Place the light directly against the glass, panel facing outward. In Canada, a south-facing window gives the most light through the year, with a west-facing one a solid second choice. Pull back any sheers, blinds or screens in the way, because even a thin layer filters out a surprising share of the light. If you’re deciding whether it’s worth buying something better suited to this, it helps to know how to choose indoor solar lights built for low light.
Rotate the light a few times through the day so the panel follows the sun’s path across the sky. If it sits flat on a sill, a small stand or a stack of books can tilt it toward the brightest part of the sky.
Be patient, especially in winter. Daylight can be only eight hours long in much of the country, and the sun sits low, so it delivers less energy per hour. Plan on several days of window time for a meaningful charge, not a single afternoon.
One Canadian quirk: snow glare can actually help. Bright reflected light bounces up and through the glass on clear days, giving the panel a little extra. Just keep the glass clean and watch for condensation or frost on the inside, which scatters the light you’re trying to collect.
Using an Artificial Light Source
Start by choosing the right bulb. A daylight-balanced LED (look for 5000K to 6500K on the packaging) is your best bet, because it puts out a light spectrum that’s much closer to what a solar panel is built to absorb. Incandescent bulbs waste most of their energy as heat, and ordinary room lighting is simply too dim. A typical living room is lit at a tiny fraction of the intensity of a sunny day, so the panel barely registers it.
Set up the lamp so the bulb sits roughly 5 to 15 cm from the panel, pointing straight at it. Closer isn’t better here. If the panel or the light’s plastic housing feels warm to the touch, move the bulb back right away, since heat builds up faster than most people expect and can damage the battery.
Plug the lamp into a simple outlet timer and run it in controlled sessions of four to six hours rather than leaving it on all night. This keeps energy use down and stops you from forgetting about it. Check the setup after the first half hour to confirm nothing is warming up.
To squeeze out a little more performance, prop a sheet of aluminum foil or a white board behind or beside the light. It bounces stray light back toward the panel, which helps a bit, especially if the panel is small.
Be patient, though. Charging this way takes much longer than a day in direct sun, and a full charge may need several sessions over a couple of days. Think of it as a top-up that gets a stubborn light working again, not a replacement for real sunshine.
Checking Your Results and What to Do Next
Once your light has had its indoor session, the real test is simple: switch it on in a dark room and watch. A good charge should give a steady, bright glow, not a faint flicker that fades within minutes. Time how long it runs before dimming, and write that number down. Compare it with the run time listed on the packaging, or with what the same light managed after a good day outside. Expect indoor results to land well below the rated figure, and don’t be discouraged by that.
If the result is weak, work through the likely culprits in order. Wipe the panel again, since a thin film of dust or fingerprints blocks more light than you’d think. Check the battery type: a non-rechargeable cell will never hold a charge, and a rechargeable one that’s a couple of years old often just wears out. Then ask honestly whether the light source was strong enough or too far from the panel.
From here, your next move depends on what you found. A tired battery is cheap to fix: swap in a fresh rechargeable NiMH cell of the same size and voltage. If the light is healthy but underperforming, take it outdoors on the first bright day for a proper top-up, even a cold one. And if you want light that reliably works inside, look at purpose-built indoor solar products designed for low-light conditions.
The Bigger Picture: Where Solar-Powered Indoor Lighting Is Headed
Today’s garden light is a modest cousin of what’s coming. Researchers worldwide are developing photovoltaic cells tuned for low light, designed to harvest energy from the soft glow of a room rather than the blaze of midday sun. These indoor-optimized cells already power small devices like sensors and remote controls, and the same thinking could eventually reach lighting.
Bigger ideas are taking shape too. Window-integrated and building-integrated solar replace ordinary glass or cladding with surfaces that generate electricity while still letting light through. They’re still maturing, and efficiency trade-offs are real, but they point toward buildings that make their own power without adding a single rooftop panel. That kind of thinking fits naturally alongside eco-friendly home upgrades that cut emissions and lower bills.
Canada has a role here. Universities, labs and clean-tech companies across the country are working on efficient energy harvesting, and the broader story of Canadian clean energy innovation keeps growing. Smarter lighting also depends on energy efficient infrastructure where small, well-matched solar systems replace wasteful ones.
Some of the most practical lessons come from the places where power matters most. Remote and off-grid communities, including many Indigenous communities leading their own solar projects, have long had to make every watt count. Their community-led approach, built around local needs, local ownership and long-term energy independence, shows how reliable lighting can be designed from the ground up. The future of solar lighting won’t just arrive from a lab. It will be shaped by the people who use it every day.
Frequently Asked Questions About Charging Solar Lights Indoors
Do solar lights charge through a window?
Yes, but only partly. Window glass, especially the low-e coated double or triple panes common in Canadian homes, filters out some of the light a panel can use, so expect a smaller, slower charge than you’d get outdoors.
Will a regular lamp charge my solar light?
Ordinary room lighting barely helps, and incandescent bulbs mostly give off heat rather than useful light. A daylight-balanced LED placed close to the panel (without letting heat build up) is far more effective.
How long does indoor charging take?
It varies with the light, the panel and the battery, so there’s no single answer. Plan on several days at a bright window in winter, and longer with a lamp, then test the light to see what you actually got.
Do cloudy days still help?
A little. Overcast daylight still delivers some usable energy, but at a much lower intensity, which is why grey Canadian winters can leave a windowsill light only part-charged.
Indoor charging itself isn’t what harms a battery. Overheating is the real risk, so keep lights away from hot bulbs and never leave high-wattage lamps running unattended. If a light still runs poorly after several days of decent exposure, the rechargeable battery may simply be ageing, and replacing it is usually the better fix. For a full top-up, move the light back outdoors on the next bright day.
Solar lights can charge indoors, as long as you keep your expectations realistic. A bright south- or west-facing window gives a modest top-up, while a daylight-balanced LED placed at a safe distance gives you more control, though neither matches a full day of direct sun. Keep the panel clean, use the right rechargeable battery, and never let heat build up near plastic or cells. If a light stays dim, give it a proper stretch outdoors.
There’s something quietly hopeful in all of this. Each time we coax a little more life from a light powered by the sun, we practise the same thinking that drives bigger change. Canadian researchers, communities and clean-tech teams are building on that idea, one small, smart step at a time.